D-Link DAP-1330 Setup: All You Should Know
Through this guide, we will help you configure your D-Link DAP 1330 WiFi extender with the root router. A WiFi extender takes in the input signals from the root router that serves as the internet source for the extender. After taking in the input signals, these are further expanded in those areas where you never have the network. Three approaches for D-Link DAP-1330 setup are:
- WPS
- QRS Mobile App
- Web Interface
In this blog, we’ve shed light on all of these methods. Read and choose one according to your liking and convenience.
How to Perform D-Link DAP-1330 Setup?
It is recommended to use the Wireless Protected Setup method as this is the easiest and requires no password details. Find ahead the instructions to set up your D-Link extender using the WPS button. Know that your router must be WPS enabled if you want to use this very method for DLink WiFi extender setup.
D-Link DAP-1330 Setup Via WPS
- Have the D-Link DAP-1330 extender placed in the same room as the host router.
- Supply electricity to the router first by plugging it in.
- Secondly, plug in the WiFi extender to switch it up. The Status LED on it will blink in amber color.
- Push the WPS button on the router and within 2 minutes, press the WPS button on the extender.
- You’ll notice a green light on the Status LED.
- Wait for a minimum of 3 minutes.
- The Status light should turn solid green as the extender is now configured.
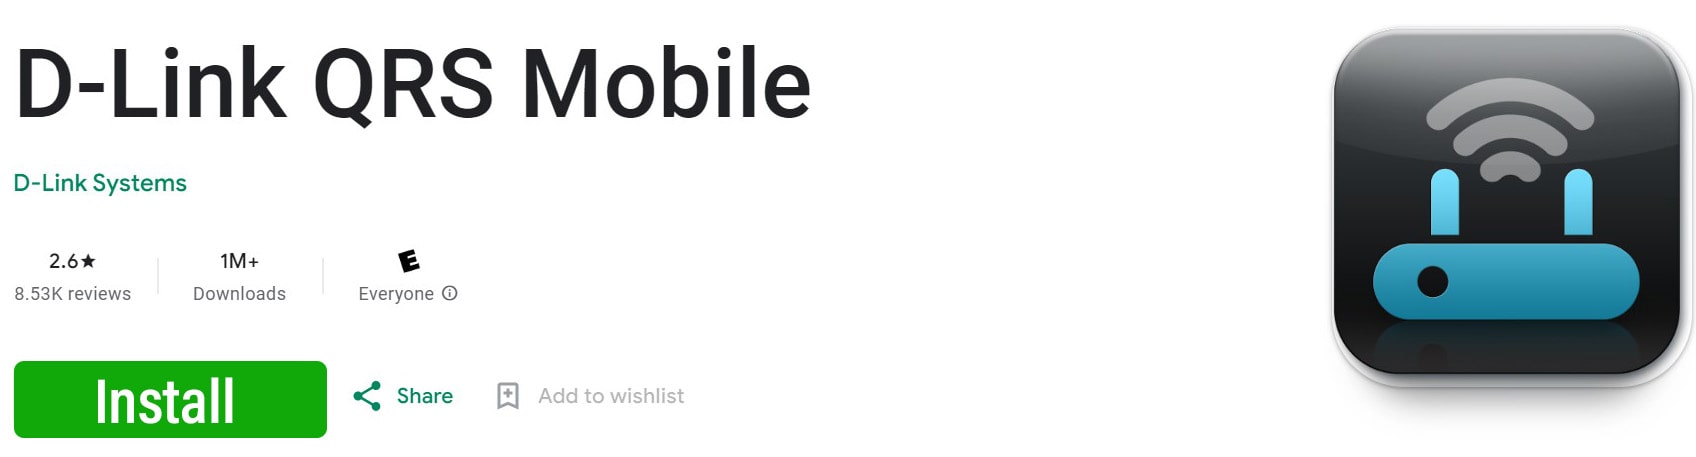
How to Use QRS Mobile App for D-Link Extender Setup?
QRS app is a mobile application for both Android and iOS devices. The app lets you configure and manage your D-Link extender with the ease of your hands. If you have not yet installed the mobile app, then do it right now by navigating to the respective Application Store on the phone. Once the app is installed, the instructions presented below will assist you in the D-Link DAP-1330 setup via mobile app.
- Before running the app, you ought to make the connection after the placement of the devices.
- Have your D-Link extender and host router sit in the same room or close proximity.
- With the aid of an Ethernet cable, link the LAN port on the router to the Internet port on the extender.
- Supply power to the router first and then to the extender.
- The phone on which the QRS app is installed should be connected to the D-ink extender’s network. Thus join the extender’s WiFi using its default SSID.
- Following the successful WiFi connection, run the QRS app on the phone.
- Carry through the on-screen prompts to accomplish the D-Link extender setup.
Set Up D-Link Extender Using Web UI
Carry out the D-Link DAP-1330 setup using the web interface that can be accessed using the login URL dlinkap.local. Following the steps listed below are suggested to carry out the setup without messing up.
- The placement of the devices, making an Ethernet connection and supplying power to them is the same as described in the previous method.
- This time it is your computer or laptop that you’ll be connecting to the extender’s network. Select the default SSID and type the WiFi password found on the WiFi configuration card. We recommend you choose a LAN connection to connect to the extender’s network to avoid signal disconnections.
- Use any updated internet browser to visit dlinkap.local.
- Using the default admin password, log in to the web UI.
- Implement the instructions that appear and you’ll be done executing the D-Link extender setup.
The Bottom Line
Setting up a D-Link WiFi extender is an easy job if you carry out the instructions carefully. The clear and easy-to-understand instructions presented in this guide will help you complete the D-Link DAP-1330 setup with the existing router.
After you’ve your extender configured, you should move it to a place that needs internet connection. Avoid congested places to place the extender. Try connecting to its WiFi now. If the WiFi signals are not as expected, then move it a little closer to the router and check the internet once again. Ensure having no other electronic devices and home appliances close to the extender to ditch signal interference. Eventually, customize the settings of the D-Link extender according to your needs and it is all set to provide you with the desired extended internet signals.