DLink Extender Power Light Blinking then Turns Off? Let’s Fix!
The issue – DLink extender power light blinking then turn off has become very common these days. Every 3rd DLink extender user around the globe is facing this type of problem. But, instead of getting worried about how to get the issue fixed – thanks Google for redirecting you here.
In this post – you will find the best fixes that will help you troubleshoot DLink extender power light blinking issue from the comfort of your home. Given that, continue reading!
Fixes to Power Light blinking then Turns off
The fixes that will help you troubleshoot the issue in discussion are outlined underneath:
Power Cycle Your DLink Extender
Technical glitches is the topmost reason causing power light blinking then turns off issue. To deal with it, you need to restart the device and for instructions – kindly scroll down a little!
- Head over to the wall socket in to which your DLink extender is plugged in. Is it near to your host router? Yes? Then, unplug it right away and disconnect it from your host router as well (if connected).
- After unplugging your DLink extender and disconnecting it from your router – wait for 5-10 minutes – and then – plug it back in again.
- Reconnect it to your host router and see if DLink extender power light blinking then turns off issue is fixed or not.
Check the Power Supply
Remember that – improper or unstable power supply to your range extender is one of the biggest reasons causing the issue. No worries! To make the most out of your DLink extender and fix power light blinking then turns off issue – just check the electricity being supplied to your extender.
Apart from this – ensure that:
- The electricity is stable and steady.
- And, the wall socket in which your DLink extender is plugged in is working
Change the DLink Extender Location
Improper location of your DLink extender – causes power light blinking then turns off issue. It could happen if you have placed your WiFi extender:
- On a lower surface
- Inside cabinet
- Back of any device
- In a corner
- Or, closer to thick walls or doors
For getting it fixed – you can try changing the location of your DLink extender and see if this hack works for you.
Key point to remember:
No matter which location you choose for your DLink extender – just make sure – it must be placed within range and reach of your router. And, if possible – relocate your router as per the location of your extender.
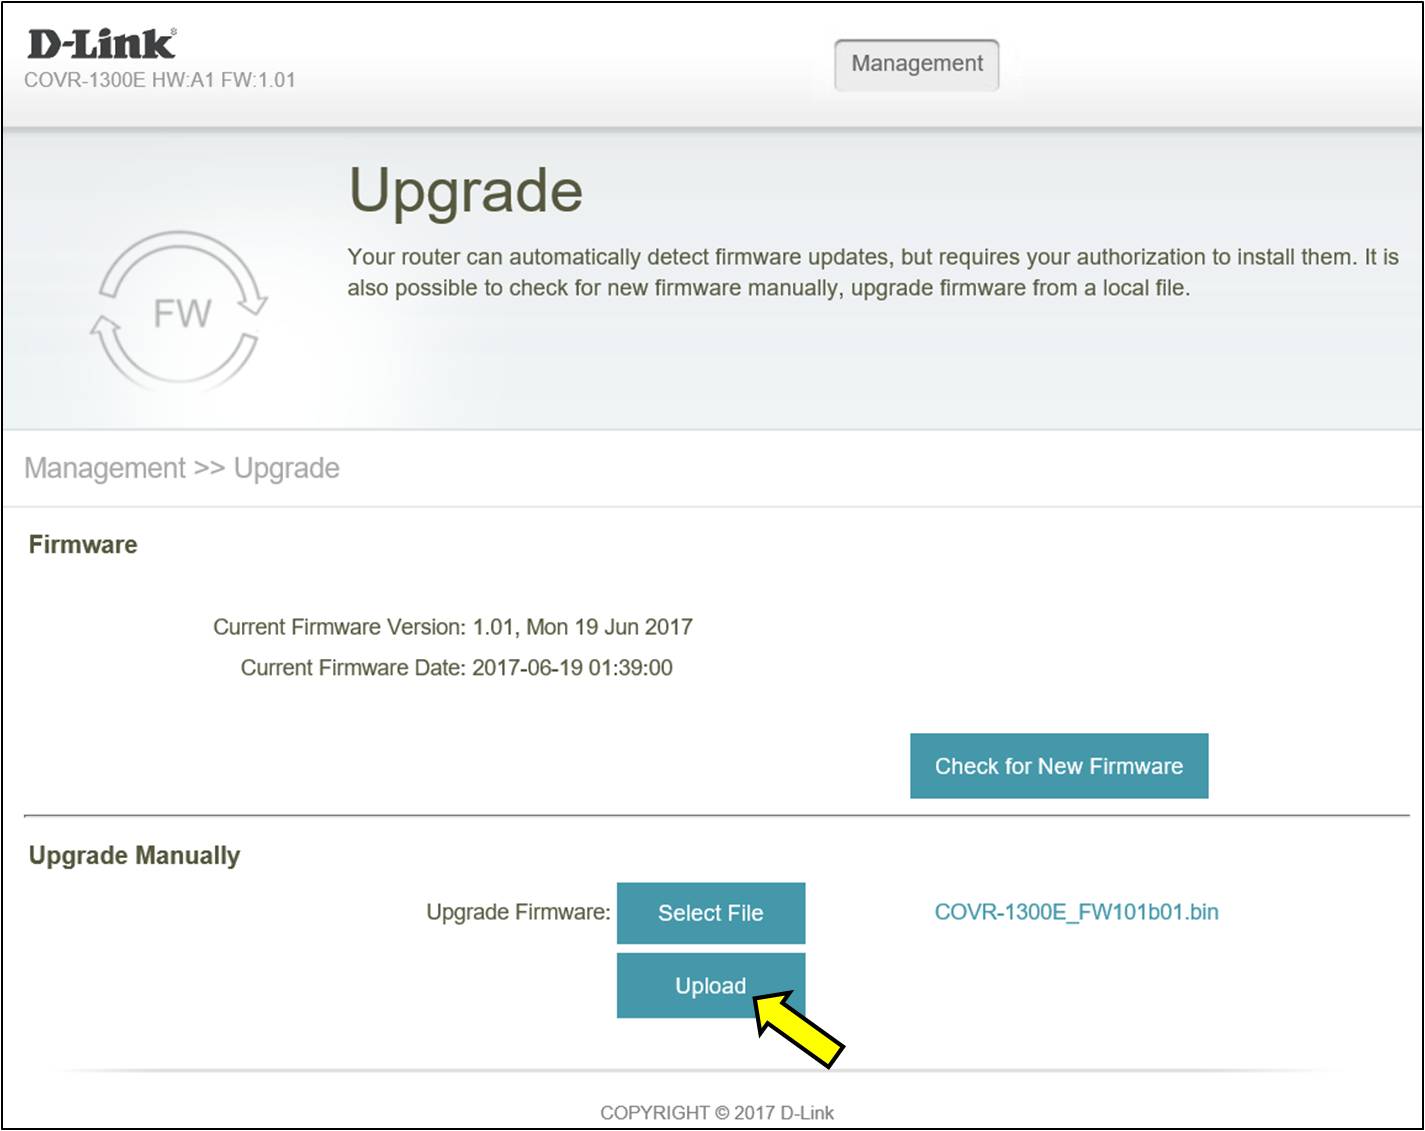
Update Firmware
Outdated firmware of DLink extender leads to power light blinking then turns off issue. For fixing it – you need to log in to your WiFi extender using dlinkap.local – and update the firmware by implementing the on-screen instructions.
While updating the DLink extender firmware – make sure:
- Your device is connected to your router
- You don’t interrupt the DLink extender firmware update process
- The power supply is continuous to the extender
- You are following the correct instructions to perform the process
- The internet range you are receiving is speedy
Reset and Reconfigure DLink Extender
If none of the troubleshooting hacks bring you luck – then you need to reset your DLink WiFi extender. Why? The reason is – you have not performed the extender setup process in a proper manner which is why you are baffling with the annoying issue. So, reset your DLink extender and configure it from scratch.
To reset DLink extender:
- First things first, disconnect it from your host router.
- Locate the reset hole on the extender.
- Once found, press it using a pin or a paper clip.
- Hold it for 8-10 seconds.
- Release it.
After releasing the DLink extender reset hole. The power LED on the extender will start blinking rapidly. Once it gets stable – perform DLink extender setup process from scratch.
What happened? Thinking about how to configure the extender? Think no more – we are always at your back. Just refer to the highlighted term above and get complete instructions to setup DLink extender in a hassle-free manner.
To Conclude
Our blog on how to troubleshoot DLink extender power light blinking then turns off issue ends here. Anticipating that – the hacks we have jotted down here will prove helpful to you. If yes, then with the hope of helping you – we are wrapping up this guide. And, one more thing – just in case – if you face the same issue in future – instead of wasting your time on Google – it’s better to have fixes for the same at your fingertips. How? By simply bookmarking this blog post!