D-Link DIR 600 WiFi Router Setup: All You Should Know
So you are here to know the steps to install your D-Link DIR 600 WiFi router. Know that this guide will walk you through the easy to understand and simple to execute instructions for D-link DIR 600 WiFi router setup. The process is fairly simple and requires no technical expertise. However, being vigilant during the setup is needed such that you do not get messed up during the process. What are you waiting for? Go on, keep reading.
How to Perform D-link DIR 600 WiFi Router Setup?
Prior to heading towards the setup process of your D-Link router, powering down the internet modem is recommended. This is an important step that helps a great deal keep away from setup issues.
Now, bring the WiFi router that you’re trying to set up near the modem since you will connect them now. Avoid choosing an enclosed and congested place. Besides, keep it away from other electronic devices and home appliances.
Now, use the steps highlighted below to carry out the D-link DIR 600 WiFi router setup. You need to use the login URL dlinkrouter.local and default admin details to get through the task. Thus get these details from the user guide that came along the router.
1st Step: Link Devices First
Take an Ethernet cable and insert one of its ends into the Internet port on the D-Link DIR 600 router. The other end has to be put into the WAN port on the modem. Using another cable, link the Ethernet port on a computer in your home to the LAN port on the WiFi router. Verify all the connections before you head to the next step. Loose cables are the primary reason why you might come across any hurdle during the setup process.
2nd Step: Apply Power to Devices
You can now switch on the internet modem. Plug it and switch it on. After powering it up, wait for at least 30 seconds and then plug in the D-Link router to supply power to it. Let it completely power up. The Power, Internet, and LAN LEDs will turn on. Finally, it is time that you boot up your computer. See to it that your computer has the upgraded operating system installed on it.
3rd Step: Go To D-link DIR 600 WiFi Router Setup Page
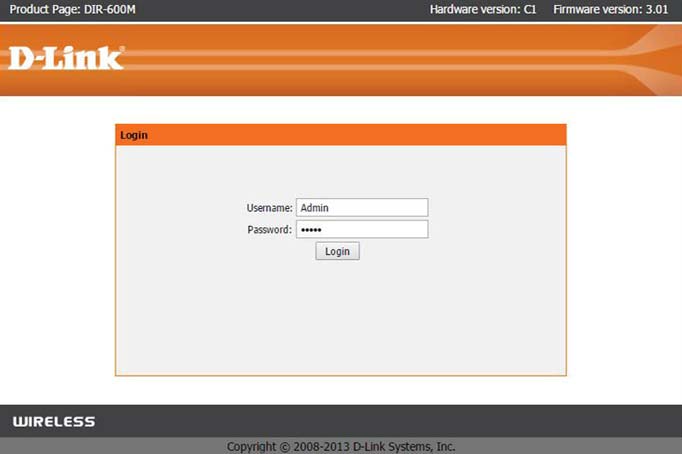
If you haven’t connected your computer to the router, then connect it to the router’s WiFi using the default SSID and password. It is however suggested to prefer the Ethernet connection to prevent the signals from dropping. After running an internet browser on your computer, visit the router’s login URL. Bear in mind that you should not use dlinkap.local as this is the URL used for D-Link extenders. Use dlinkrouter.local instead that’s meant for the routers. The default IP address 192.168.0.1 can also be used to reach the D-link DIR 600 WiFi router setup page.
4th Step: Implement Setup Prompts
Following the login process, you’ll arrive at the Easy Setup Wizard. It will now auto detect for the type of network connection. After the connection is detected, click on the Configure button in Wireless Settings. Put the SSID and password. Give a new admin password to your router. Keep on implementing the prompts that further show up on the screen. Upon having completed all the setup instructions, a final screen will appear showing all the configurations set by you. Verify the settings and click Save to complete the D-link DIR 600 WiFi router setup process.
The Closing Note
Using the guidelines described in this post, performing a D-link DIR 600 WiFi router setup should be an easy job for you. While telling you about the setup steps, we have tried covering all the tips that you should apply to avoid any hurdles while executing the router configuration. The minute you have set up your D-Link router, you are required to connect to its network to check if the setup is done correctly or not. Join its network using the newly assigned SSID and WiFi password. We are very much sure that you’ll have access to trouble free internet connection now.