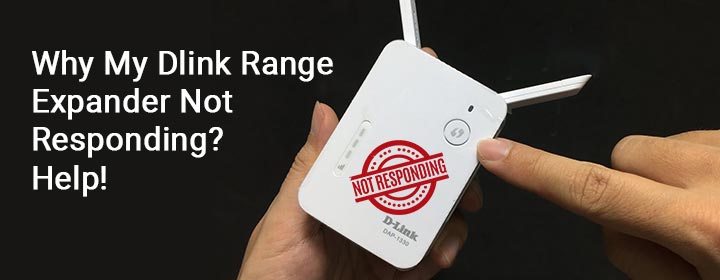
Why My Dlink Range Expander Not Responding? Help!
Range extenders are also called as the range expander because these networking devices use to expand the WiFi signals in your house. One of the biggest distributors is Dlink, which also provides routers, boosters as well as extenders. But these networking devices can trouble you with some technical problems like networking device not working or internet service getting low. Here, you will learn about an issue related to the Dlink range expander, which is extender not responding. Let’s find out what are reasons behind this problem is and how you can solve this issue.
Why Dlink Range Expander Not working?
‘Dlink WiFi extender not responding’ issue can cause by several factors and some of them are listed below in this section.
- Using damaged Ethernet cable to connect with the router or any other networking device can be a reason of this problem.
- Other causing fact of this ‘not responding’ error is regular electricity cuts and usage of the faulty electrical wall socket.
- Inserting network cable into the wrong ports of router and extender to make a link between them also can cause this similar problem.
- One more reason of this issue is networking interruptions from nearby placed electromagnetic devices.
Now, let’s solve this ‘Dlink range expander not responding’ issue with the help of some troubleshooting tips written down here.
Dlink Range Expander Not Workings-Solved
Change Damaged Cable
You should check all the connections such as modem to router or extender to router links, and find if any cable is damaged or not. Check Ethernet cable and power cord. If you find any cable damaged or cut then replace them right away with a new one.
Fix Wall Socket
Dlink WiFi range extender is a plug-in networking device, so you don’t need a power cord to supply power to it. You just have to plug it in to an electrical wall socket to provide power to the extender.
But it can also be damaged, so check it once that is in good condition. If you find it damaged, then fix it by calling an electrician or change the location of the extender.
Check Router to Repeater Link
Range extenders receive WiFi signals from the routers. So, you have to be sure that your Dlink range expander is correctly linked with your WiFi router.
To make sure, check the Ethernet cable is inserted into the router’s LAN port and Extender’s WAN port. If not then pull out the cable and insert it into right ports.
Shift It to Optimal Spot
Networking interruptions is one of the big reasons why your extender is not working. These WiFi interruptions are occurs from the electromagnetic waves that used in electronic devices like microwave ovens.
So, you must check that your extender is far away from the electronic devices. If there is any near to the networking device, then shift it to an optimal location or spot.
Reboot Dlink Extender
Sometimes all the above-written tips can’t deliver the solution. In that case, you need to the reboot your range extender and you can do it by two methods which you can read down here.
- Locate and press power button (given on the front of Dlink range expander) twice. The first press will turn it off and second press will reboot he extender’s system.
- Find the wall socket in which the repeater is plugged, pull it out and plug it again to complete the restart process.
If the rebooting is also not helping then apply this final tip to troubleshoot the issue you are facing right now.
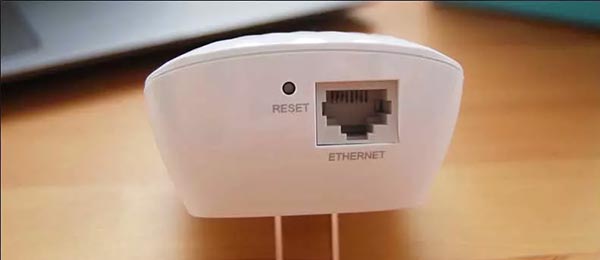
Reset Range Expander
Resetting the networking device will delete all the previous data and settings and you have to access the interface via login URL dlinkap.local or IP address 192.168.0.50. You can perform factory reset process on range extender by locating and long pressing the Reset button at the back of the networking device.
The End Words
These are the end words of this informative blog, where you have learned why your Dlink range expander is not responding. We also discuss solutions in the ‘how you can fix this ‘range extender not working’ issue section above. Hope, you have found out the reason of the problem and solved it with the help of this troubleshooting blog.